Introduction to Group Rights for limited visibility
In order to achieve limited visibility for specific users, you will need to work with group right permissions. The good news is OP5 Monitor has predefined groups with limited permissions already. To view these, simply navigate to "Configure -> Group rights"
- admins
- default
- limited_edit
- limited_view
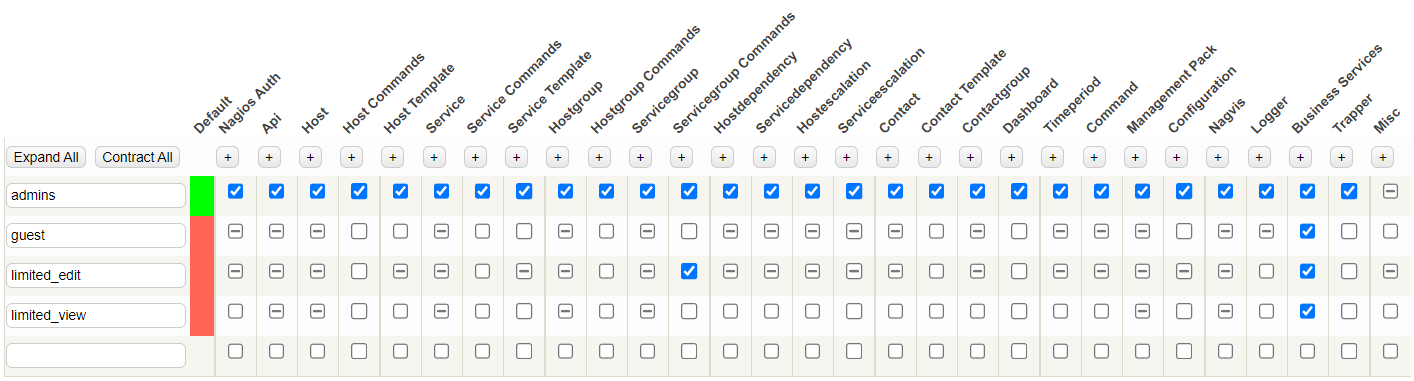
For this articles purpose we will use the "limited_view" group, as this group has the following specific permissions set (see the screenshot below):
- Service Commands
- Hostgroup
- Hostdependency
- Contact Template
- Command
- Business Service
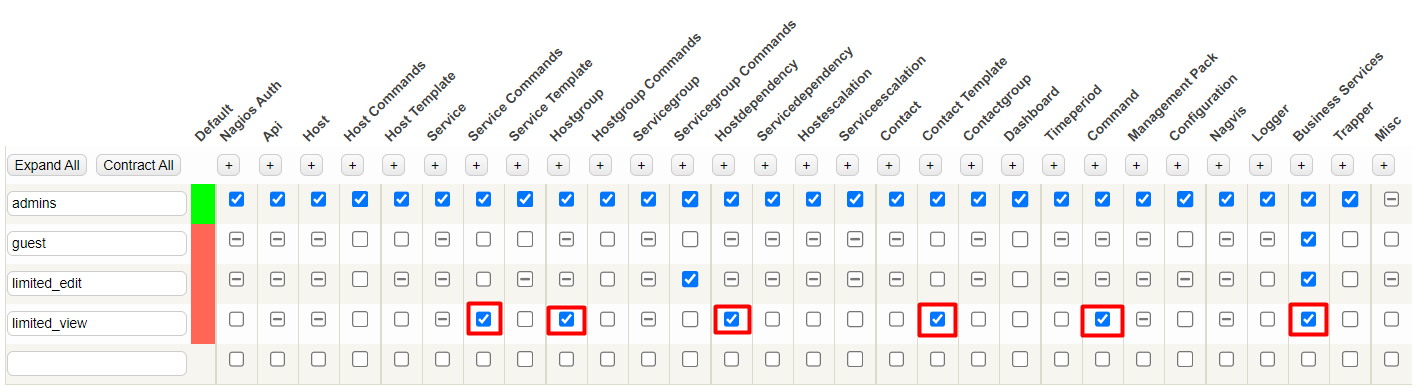
These permissions define what permissions users in the "limited_view" group has access to.
Create a user & assign limited visibility
The steps below outline how to successfully add a user with limited visibility on specific hosts and with limited menu items.
Step 1 - Add a contact
- Navigate to "Configure -> Contacts" and create a new contact. REMEMBER: the contact_name will be the username for login.
- Enter the required fields for the contact. If you enter the email address or pager (for GSM enabled monitoring) this user will receive notifications.
- In this example we use the user "monitor_only" but you can name your user however you prefer.

Step 2 - (Optional) Create a user with access rights & group membership
- Scroll down and check the box "enable_access" which will provide additional details about the contact. This step creates a "local" user for OP5.
- REQUIRED: Select the Auth Module (Default, is typical) and Group Membership "limited_view group".
Note: Step 2 is not required if a user already exists, locally or in Active Directory or LDAP.

Click Submit, then also Save your changes.
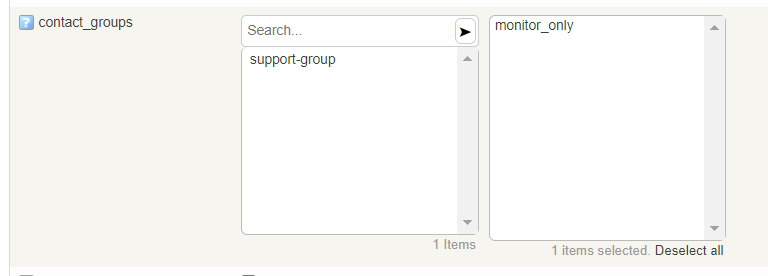
Step 3 - Set the contact as a "contact" for hosts
Configure a host and set your newly created contact to a host. Remember OP5 users are grouped into user groups, to which you can assign permissions for specific components and functions of OP5 Monitor
Submit, and Save your changes.
Step 4 - Verify the user permissions
Now logout and login as the user monitor_only and you should only see the hosts you have assigned user monitor_only as a contact to.

Step 5 - (Optional) Limiting the menu items for specific groups
You can also limited the menu items available to specific groups by following these few steps.
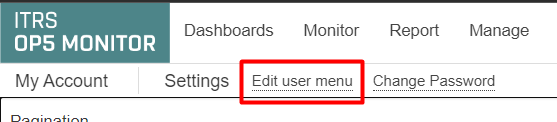
- Login as an "Admin" level user. Click your username in the upper right hand corner, then click on My Account

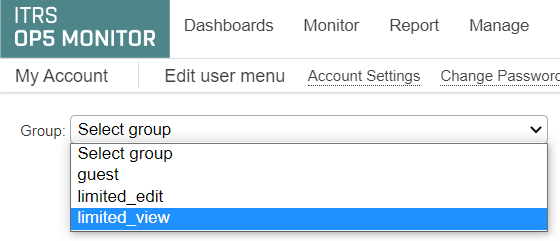
- Click "edit user menu"
- Select the group in this case "limited_view". Check the boxes for items you wish this group to have access to.
- REMEMBER: The features you select will only allow the users to view what you have given the access to specifically.
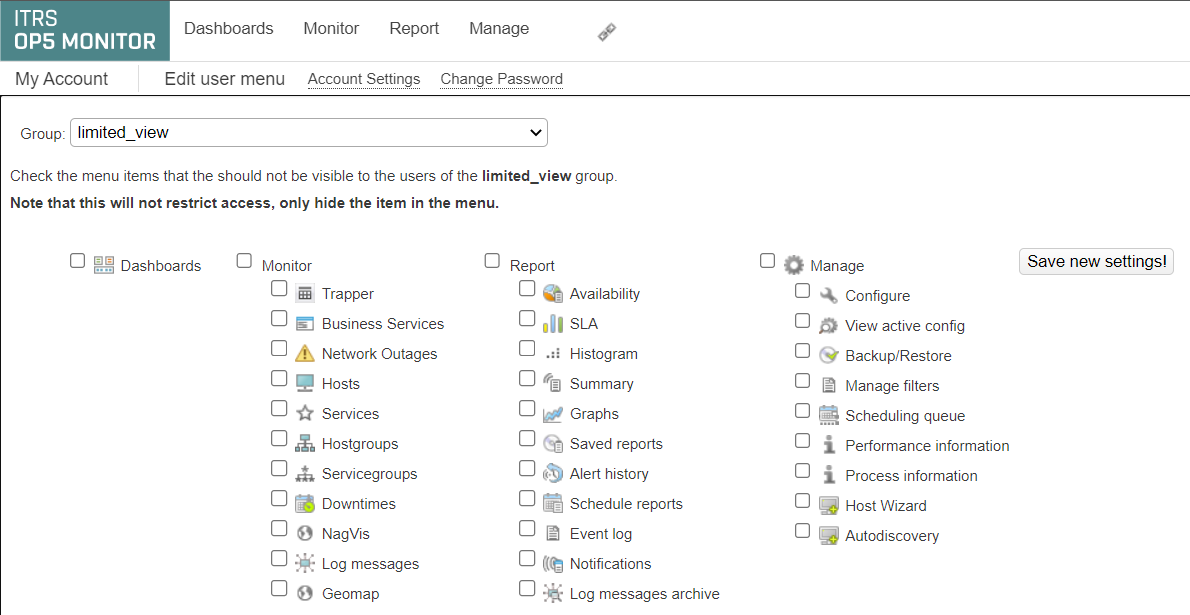
- Hit Save new settings! once done
Comments
0 comments
Please sign in to leave a comment.